Overview
Within this section in CRM, you will need to setup various groups for your leads. These groups are used to categorize your leads, based on the type of property they are interested in, etc...
Examples of groups are:
- Foreclosures - Leads that are looking for Foreclosure homes.
- Short Sales - Leads that are looking for Short Sale homes.
- Rentals - Leads that are looking for Rental homes.
-
Buyer Existing Lead - A lead who has purchased from you in the past.
-
Buyer New Lead - A new lead who just contacted you about purchasing a home.
-
Seller Existing Lead - A lead whose home you sold in the past.
-
Seller New Lead - A new lead who just contacted you about selling their home.
Setup
1. Click "Contact Groups" from the menu at the top.
2. Click the "Add New Contact Group" button.
3. Complete the information under each tab (see below for more information).
*Please see the note below pertaining to the "Staff Assignment" tab.
4. Click the "Save" button at the bottom of any tab.
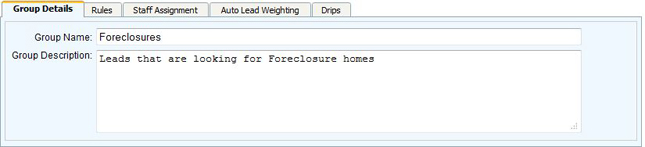
Group Details:
Group Name: The name of your group (ie: Foreclosures).
Group Description: Defines what the group represents (ie: Leads that are looking for Foreclosure homes).
Rules:
Auto Assign: Check this box if you want your leads to be assigned automatically to this group.
Group Rank: Allows you to set the preference of this particular group amongst your other groups. The lower the number, the higher the preference.
Source: Allows you to select the type of pages you would like to see in the "Source Page" select list below. Note, if you select "External" or "Real Estate Registration", you can specify additional rules as needed on the right side of the screen (ie: Rules For Real Estate Registration / Rules For External).
Source Page: Allows you to select
the page(s) on your COOLSite, in which a lead will need to register on in
order to be put into this particular group.

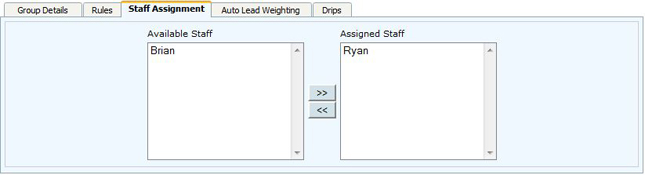
Staff Assignment:
Here you will see a list of your staff (if using a multi-user setup) under "Available Staff". You can assign one or more Staff to handle leads from this particular group, by selecting the Staff from the "Available Staff" select list and then clicking the ">>" button to move them over to the "Assigned Staff" section.
NOTE: When done moving over your Staff to the "Assigned Staff" section, you will need to click on the "Save" button at the bottom of this tab, before completing the information under the "Auto Lead Weighting" tab. Once you click on the "Save" button, you will need to edit this Contact Group again by double-clicking on it and then you can proceed with completing the information under the "Auto Lead Weighting" tab.
Auto Lead Weighting:
Here you determine how many leads get assigned to your Staff (ie: The Staff that you moved over to the "Assigned Staff" section under the "Staff Assignment" tab) during a given round. You can prioritize who gets the majority of the leads that come into this particular group, by entering a number under the "Lead Weight Setting" column for each Staff.
Lead Weight Setting: This is the total number of leads an agent can receive during a given round. The higher the number, the more leads the Staff will receive. You can weigh each Staff evenly so that they each get a fair share of leads, by entering the same number for each Staff listed here.
Lead Count Down: As leads are assigned based on the Lead Weight Setting defined for each Staff, this number will automatically decrease by one, until it reaches 0. Once the Lead Count Down reaches 0 for all Staff associated with this group, this will complete the round and this number will automatically reset to the original Lead Weight Setting number defined for each Staff.
Note: During the initial setup of this group, you will notice that the "Lead Count Down" defaults to 1 for each Staff, which is normal / by design. If you make changes to the "Lead Weight Setting" for any Staff, it will not take effect until the next upcoming round.

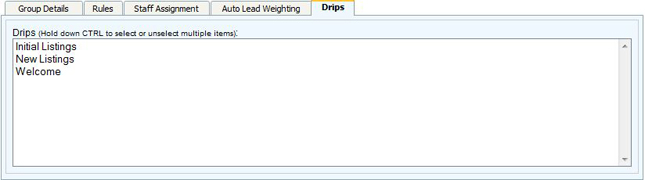
Drips:
Here you will see a list of all Mail Drips that are currently setup in your CRM. Setting up your Mail Drips is covered in step # 7 of the CRM Setup Knowledge Base article (http://support.colony1.net/KB/a314/crm-setup.aspx).