If you would like to place images of your own onto your website, then please follow the instructions below.
Before you begin with this process, you must first decide where you would like to place the image exactly. Possible areas are:
a.
On a specific page on your site.
b.
In a particular region on your site / template (such as the Header area), whereby the image will remain visible, no matter what page is currently being viewed on your site.
c.
In the Header or Footer area of a specific page on your site.
(A) Uploading and Inserting Images on a specific page on your site
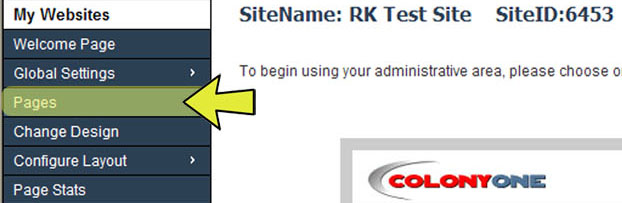
1. Login to your COOLSite Admin and click on the “
Pages” button / link from the menu on the left.
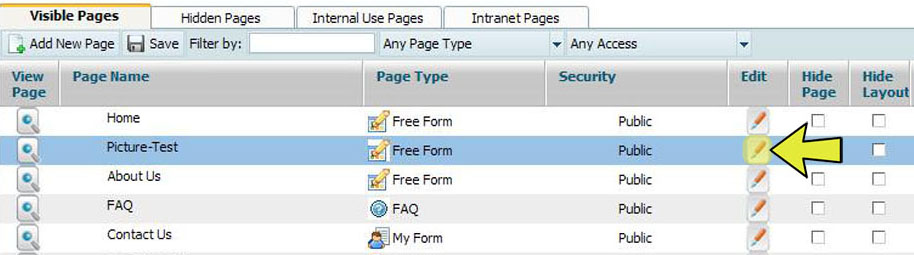
2. Find the Visible or Hidden page in which you would like to insert the image on, and click on the corresponding icon under the “
Edit” column for that page, to edit it.
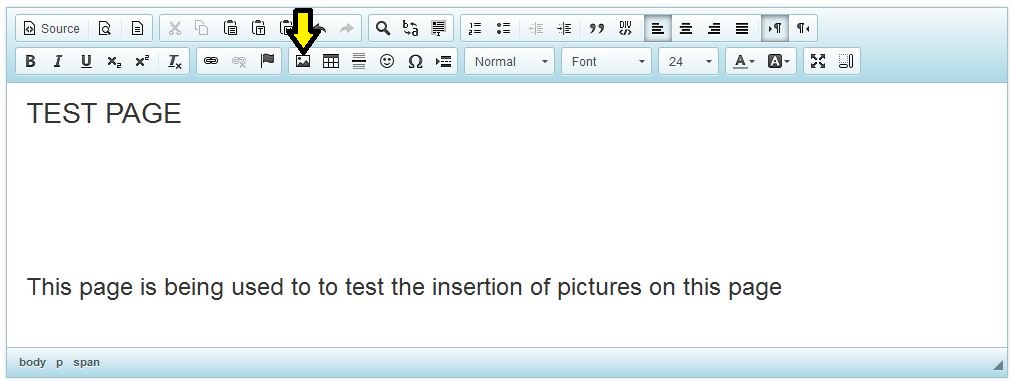
3. You will now see an editor box which contains the existing content on this page, and you will need to click in the specific area of the content, in which you would like to insert your image. You will notice that your cursor is now blinking in that spot and will then need to click on the “Image” icon (as shown below Yellow arrow) on the editor toolbar in the second row.
4. You will now see a pop-up window and will need to click on the “
Upload” tab.
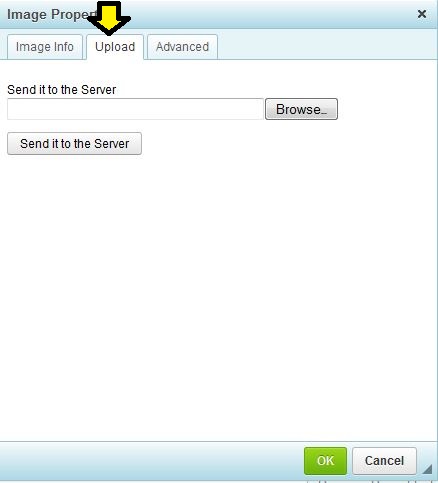
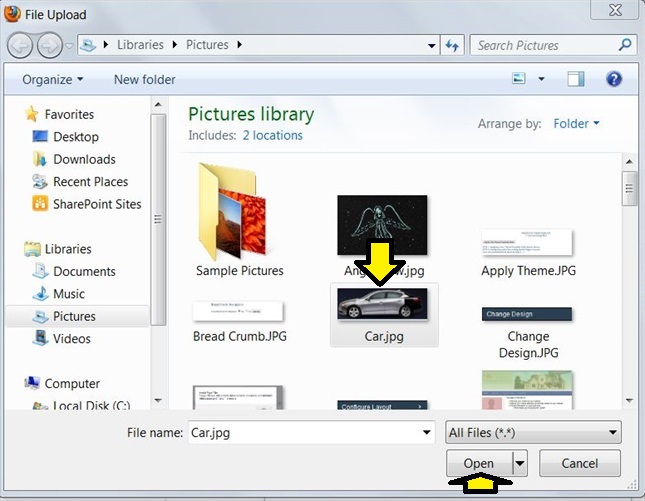
5. Once you have clicked on the "
Upload" tab, you will then need to click on the "
Browse..." button to browse your computer for the image that you would like to upload. Once you find the image, you will need click on it and then click on the “
Open” button, followed by the
"Send it to the Server" button (as seen in the screenshot above).
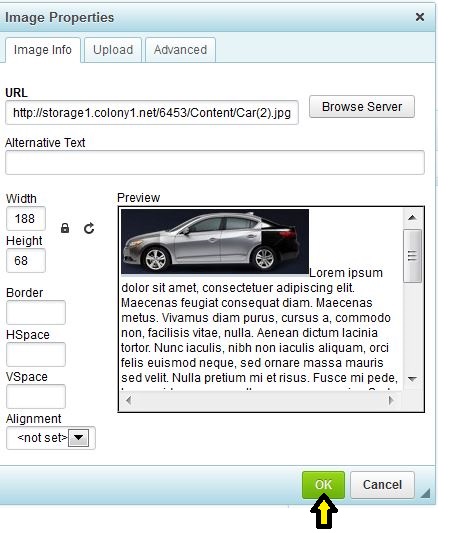
6. Once your image has completed uploading, you will be taken back to the pop-up window that came up when you initially clicked on the
"Image" icon on the editor toolbar. You will now see a preview of the image to be inserted and will need to click on the
"OK" button at the bottom of this window to insert the image into the editor.
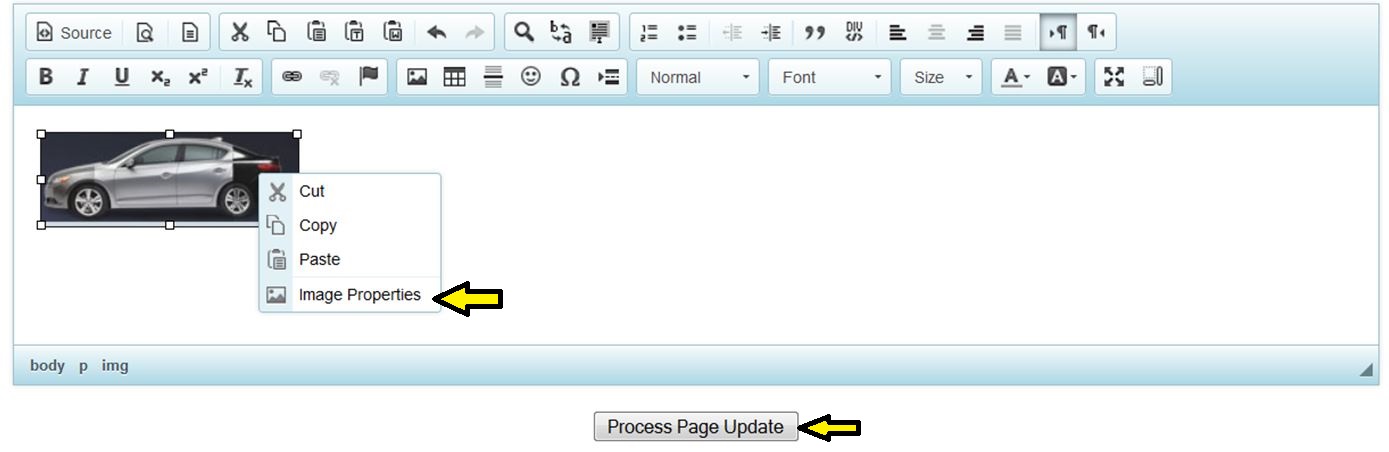
7. The image will now appear in the editor box, in the area where you positioned your cursor previously, and you will now need to click on the "
Process Page Update" button below the editor box, to save your change. You will need to repeat steps 3 - 7 to insert additional images on your page as needed.
NOTE: If the image that you inserted is too big, then you can re-size it in one of two ways:
a. Right-click on the image in the editor box and select the “
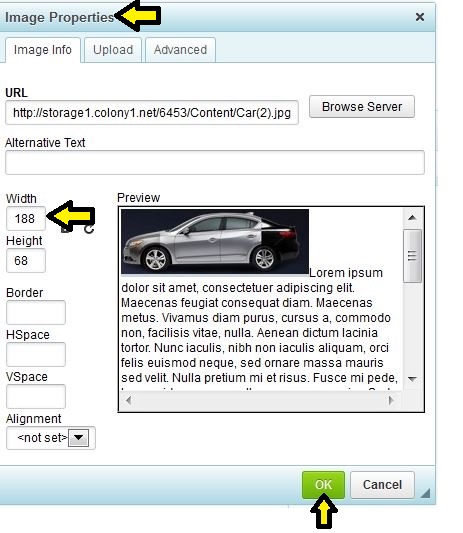
Image Properties” option. The Image Properties Windows will appear and change one of the numbers under the
“Width” or
"Height" field, to something smaller. You do not need to change the other number, as it would be changed automatically. When done, please be sure to click on the "
OK" button at the bottom of the pop-up window, to save your change, followed by the "
Process Page Update" button below the editor box. Please note that this is the preferred way to re-size your image if needed.
b. Left-click on the image in the editor box, and you can then click and drag the square boxes around the image, to re-size it manually. Keep in mind that when using this option to re-size your image, the image may become distorted if not done correctly. When done re-sizing the image, you will need to click on the "
Process Page Update" button below the editor box, to save your change.
 (B) Uploading and Inserting Images in a particular region on your site / template
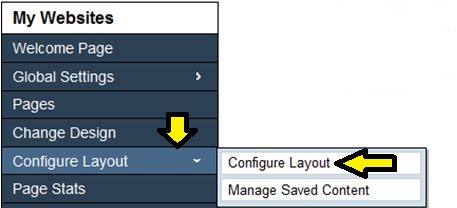
1. Login to your COOLSite Admin and mouse over the "
Configure Layout" button / link from the menu on the left, and click on the “
Configure Layout” button from the sub-menu.
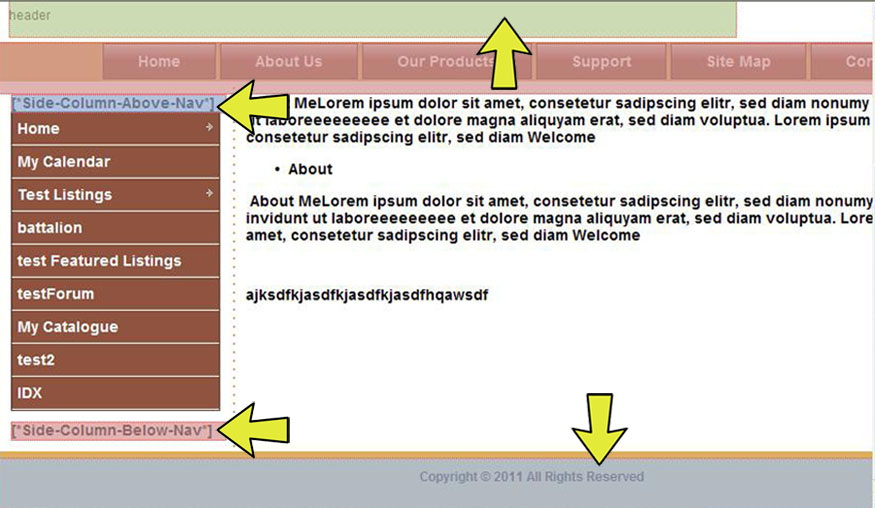
2. You should now see a live preview of your site, and will also notice various shaded areas on the page as well. You can click into any of these shaded areas and it will bring up the editor box, where you will then be able to insert an image into, using the same instructions provided above (Steps 3 - 7).
 (C) Uploading and Inserting Images In the Header or Footer area of a specific page on your site
1. Login to your COOLSite Admin and click on the “
Pages” button / link from the menu on the left. .
2. Find the Visible or Hidden page in which you would like to insert an image into the Header or Footer area of, and click on the corresponding icon under the “
Header/Footer” column for that page. A pop-up window will appear with two editor boxes (Header and Footer), and you can then follow the same instructions provided above in (A) - Steps 3 - 7, to upload and insert your image.